Last updated October 15, 2026








Free written scope consultation - allowances, timeline, and change-order rules on paper before a single trade is scheduled
General Contractor Maintenance Checklist for Santa Clarita Homeowners
A single failed weep screed on a stucco exterior, a strip of metal the width of your thumb, is responsible for more interior water damage in Santa Clarita than roof leaks. It is the one item almost every generic checklist omits, and it is the first thing we check when a homeowner calls about bubbling paint or a musty smell near a baseboard. This guide is a general contractor‘s maintenance checklist written specifically for Santa Clarita’s two biggest home stressors: summer heat above 100°F that expands and contracts every caulk joint, and Santa Ana wind seasons that force debris deep into attic vents and HVAC intakes. You will learn what to inspect, what to photograph, what to fix yourself, and what to hand to a professional before a $40 problem becomes a $4,000 repair.
Quick Answer
A Santa Clarita home maintenance checklist should prioritize the local stress cycles that actually damage homes in this climate: stucco weep screeds and control joints before and after summer heat peaks, attic vent screens before and after Santa Ana wind season, caulk and sealant replacement tied to temperature swing data rather than a generic annual schedule, and HVAC filter changes aligned with Santa Clarita’s dust and pollen calendar. Most of these inspections take under an hour with a phone camera and a ladder. The goal is not to do everything at once; it is to catch the specific failures this valley’s heat and wind are known to cause, before they reach the interior of the house.
Styles & brands we work with







Table of Contents
- Stucco Weep Screeds and Control Joints: The Items Generic Checklists Miss
- Caulk and Sealant Replacement Intervals Based on Santa Clarita Temperature Swings
- Attic Vent Screening Before and After Santa Ana Wind Season
- HVAC Filter and Duct Inspection Timed to the Santa Clarita Dust and Pollen Calendar
- Surface Sealants, Hardscape Movement, and Slope Drainage
- Paint Bond, Window Flashing, and North-Facing Wall Checks
- What a General Contractor Documents During a Maintenance Walk (vs. What a Homeowner Can Self-Assess)
Stucco Weep Screeds and Control Joints: The Items Generic Checklists Miss
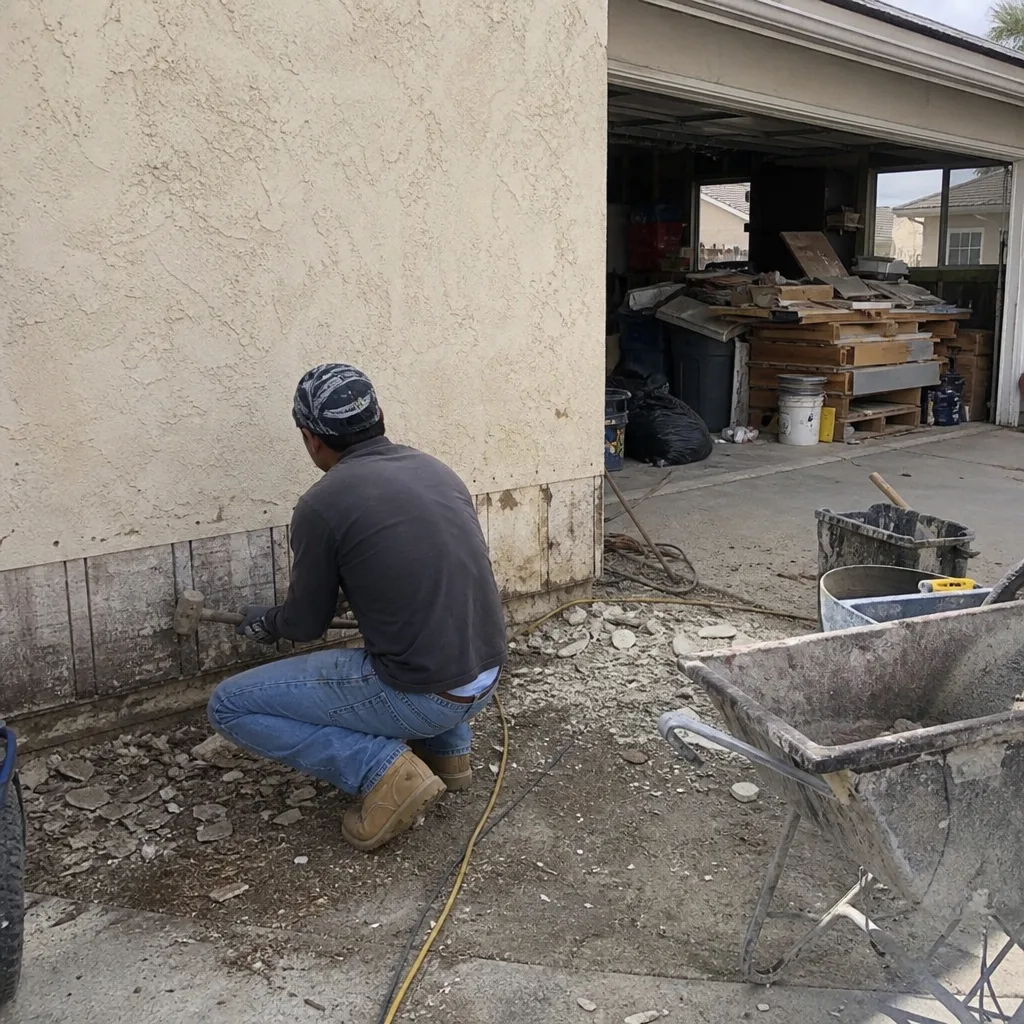
Most homes in Santa Clarita, from Valencia to Saugus to Newhall, have stucco exteriors. Stucco is a hard coat that sheds water well until one small component fails. That component is the weep screed, a narrow metal flashing at the very bottom of the stucco wall, just above the foundation line. The weep screed’s job is to collect any moisture that gets behind the stucco and direct it out and down, away from the framing. When a weep screed is damaged, painted over, buried by soil or landscaping, or snapped by foundation movement, water that finds its way behind the stucco has nowhere to exit. It sits against the framing and travels inward. By the time you see a water stain on the baseboard or smell something musty near a wall, the moisture has usually been working on the interior for months.
The second stucco component we look at closely is the control joint. These are the intentional vertical or horizontal grooves you see in many stucco walls. They exist to give the stucco a place to crack along a straight, sealed line rather than randomly across the wall face. In Santa Clarita, where summer days regularly exceed 100°F and winter nights can drop below freezing in the higher canyons, the thermal movement on stucco is significant. A control joint that is no longer sealed acts as a water channel directly into the wall assembly.
Here is the weep screed and control joint checklist we use on every maintenance walk:
- Clear soil line. Walk the full perimeter of the house. The weep screed should sit at least 2 inches above the adjacent soil or mulch. If soil has built up against the stucco, gently pull it back. In many Santa Clarita front yards with aggressive plantings, we find the weep screed completely buried.
- Inspect the weep screed itself. Look for bent, torn, or missing sections. A cracked screed at a bottom corner is common where a mower or trimmer has hit it. A missing section lets water run directly into the bottom plate of the wall.
- Check every control joint. Run your finger along each joint. The sealant should be flexible, not dried and cracked. If you can peel it with a fingernail, it is no longer functioning as a water barrier.
- Map all hairline cracks. Take photos of every stucco crack you can find, no matter how small. Measure the width with a coin or a ruler held next to it for scale. Cracks wider than 1/16 inch or cracks that grow between inspections need a professional evaluation.
We recommend walking the weep screeds twice a year: once in March before the heat begins, and once in October after the summer peak has passed and the walls have done a full year of thermal moving. This is a fifteen-minute inspection that can prevent thousands of dollars in interior wall repair.
Caulk and Sealant Replacement Intervals Based on Santa Clarita Temperature Swings
Generic home maintenance checklists tell you to re-caulk every five years. That is a safe average for a moderate climate. It is not accurate for the Santa Clarita Valley, where a single week in August can push a wall surface from 60°F at dawn to 130°F by late afternoon. That daily thermal cycle, repeated for a third of the year, breaks down flexible sealants faster than any chart in a national magazine would predict.
The specific joints we watch most closely are around window and door frames, along the tub surround trim, where a backsplash meets the countertop, and where painted wood trim meets stucco. Every one of those joints is a boundary between two materials that move at different rates. A high-quality caulk in those joints is the only barrier between the outside air and the framing behind the finish.
Here is the interval guide we use for Santa Clarita homes, based on what we find in the field:
- Exterior window and door perimeter sealant: Inspect every 12 months. In full western or southern exposure, plan to replace every 12 to 18 months. On shaded northern and eastern exposures, replacement may stretch to 24 months in some homes.
- Interior tub and shower caulk: Inspect every 6 months. In Santa Clarita’s low-humidity environment, mold growth is less aggressive than in coastal climates, but shrinkage cracks appear fast, particularly in summer when interior air conditioning lowers indoor humidity and dries fresh caulk too quickly if not properly cured.
- Countertop-to-backsplash joints: Inspect annually. In kitchens with long unbroken runs of countertop that face a large window, thermal movement between the stone and the wall can open a joint within two years.
- Painted wood trim against stucco: Inspect every 12 months, always before the rainy season. A hairline separation along the top edge of a horizontal trim board is an open invitation for water to wick behind the paint film.
A simple test: press the sealant with a finger. Fresh sealant springs back. Failing sealant feels hard, cracks when pressed, or has already pulled away from one surface. When we replace sealant on a Santa Clarita home, we remove the old bead completely with a knife and solvent, clean the joint, and apply a new bead with a tooled profile that stays flexible. Do not caulk over caulk. The new material will not bond, and the joint will fail faster than the original.
Attic Vent Screening Before and After Santa Ana Wind Season
Santa Ana winds are not just a fire-weather concern; they are a mechanical maintenance issue for every home in Santa Clarita. Wind-driven debris, dust, embers, and even small animals are forced into attic spaces through vents designed to be passive openings. The standard louvered gable vent or the static roof vent on a suburban tract home has no filter. When the Santa Anas blow hard, which they do several times most years, those vents become debris intakes.
The protocol we recommend is simple: inspect and maintain attic vent screening twice per year, once in September before the fall fire season builds, and once in January or February after the worst wind events have passed. This is not a cosmetic step. In fire-adjacent zones, which include much of Santa Clarita’s perimeter neighborhoods, an ember that finds its way through a vent opening and lands on accumulated dry dust or stored material inside the attic is one of the most common ignition points.
Here is the step-by-step protocol:
- Inspect every attic vent from the outside. Use binoculars or a ladder to look closely. Check the vent screen itself. Screens with holes larger than 1/8 inch will not stop embers or fine wind-driven debris. Torn screens should be replaced before the next wind event.
- Check for screen detachment. Many older Santa Clarita homes have screens that were stapled or crimped in place years ago and have since loosened. A flapping screen does not protect the attic.
- Enter the attic after a strong wind event. Bring a flashlight. Look at the floor of the attic space directly beneath each vent. Accumulated dust, leaves, or fine sand tells you the vent screen has been failing and should be upgraded.
- Document with photos. We photograph the attic floor under every vent before and after every Santa Ana season. The comparison is often the fastest way to spot a vent that is starting to let material through.
For homes near natural open space areas, we also recommend checking the attic in early spring for signs of nesting activity. The same vents that let in dust and embers are attractive entry points for rodents, birds, and bats. The best prevention is a properly seated, fine-mesh screen with no gaps at the edges.
HVAC Filter and Duct Inspection Timed to the Santa Clarita Dust and Pollen Calendar
Santa Clarita has two distinct airborne-material seasons that affect HVAC systems more than any calendar month does. The first is the Santa Ana wind period from roughly September through December, when fine dust and particulate matter from the high desert is blown through the valley. The second is spring bloom, from February through May, when the valley’s non-native grasses and flowering eucalyptus send out heavy pollen loads that the prevailing breeze carries from the surrounding hills into neighborhoods like Canyon Country and Stevenson Ranch.
For a standard 1-inch HVAC filter:
- During Santa Ana season (September – December): Check the filter every 30 days. Replace when a flashlight held behind the filter no longer shows light through the media. In heavy wind years, we see filters fully loaded with fine gray dust in 3 to 4 weeks.
- During spring bloom (February – May): Check the filter every 30 to 45 days. Pollen is lighter than the Santa Ana dust but just as effective at coating the filter face.
- During mild seasons (June – August, January): Check every 60 days. In peak summer, the AC runs constantly, so the filter is moving more air per day than in winter, but the incoming air is less dust-laden than in fall.
A more important issue we find in many Santa Clarita homes is a poorly sealed return duct. The return side of the HVAC system runs under negative pressure. Any small gap in the return ducting, whether in the attic or in a wall cavity, pulls in unfiltered air from the spaces around the duct. If that space is a dusty attic, the filter is doing half the work it should, and the indoor air quality is suffering regardless of filter condition. During a general contractor maintenance walk, we look for disconnected return boots, torn flex duct, and gaps where a return plenum meets a ceiling boot. These are the points where the system inhales attic air directly.
We also recommend a simple paper test at each return grille. Hold a sheet of printer paper against the grille when the system is running. The paper should be held firmly by the airflow. If the paper barely sticks, that return is weak and may indicate a collapsed or disconnected duct upstream.
Surface Sealants, Hardscape Movement, and Slope Drainage
External hardscape is not just about how a driveway or patio looks. In Santa Clarita, flatwork movement is a water-management issue. The freeze-thaw cycle here is not as severe as in mountain climates, but the clay-heavy soil in many parts of the valley expands and contracts with seasonal moisture changes enough to shift slabs. When a concrete patio or walkway moves upward or outward, it changes the fall line of the adjacent surface. A patio that once shed water away from the house may now be tilted slightly toward it.
We walk every hardscape surface during a maintenance inspection looking for three things:
- Slab lift or drop at joints. Any vertical offset between adjacent slabs greater than about 1/4 inch is a sign that soil is shifting under the slab. If that movement occurs near the house, water is likely to be redirected toward the foundation.
- Cracking near expansion joints. The expansion joint is supposed to absorb slab movement. A joint that is completely filled with compacted dirt, roots, or failed sealant can no longer do its job, and the slab will crack somewhere else.
- Water pooling after rain. During winter rains, or even a quick garden hose test, walk the exterior and note any point where water ponds against the house, against a wall, or over a weep screed. A puddle that lasts more than an hour is a red flag.
We also check the slope of the top 12 to 18 inches of soil and mulch against the foundation. The ground should slope down and away from the house at a rate of at least 1 inch per foot over the first foot. In many Santa Clarita homes with established landscaping, years of mulch application and planting have reversed that slope, creating a subtle lip that guides water back toward the foundation. Fixing a reversed slope is often as simple as pulling back soil and mulch and regrading the surface.
Paint Bond, Window Flashing, and North-Facing Wall Checks
Santa Clarita’s intense ultraviolet exposure is the quiet enemy of exterior paint and flashing. The southern and western walls of any home in the valley take the full force of the afternoon summer sun. A high-quality exterior paint film can last 15 years in a moderate climate, but on a fully exposed western Santa Clarita wall, we see significant chalk and adhesion loss in 6 to 8 years. Once the paint film fails, the stucco or wood behind it is exposed to moisture, and the path to wall damage is open.
The north-facing wall is the opposite problem. North walls in Santa Clarita receive little direct sun, which means they stay damp longer after rain and are the first walls to develop moss, algae, or organic staining. Those same north walls often hide the best place to inspect window flashing, because the lack of sun has preserved the sealant but also allowed any moisture intrusion to go undetected.
Here is what we inspect on exterior paint and flashing during a maintenance walk:
- Chalk test on southern and western walls. Rub a dark cloth against the paint surface. Significant white or gray residue on the cloth means the paint film is releasing, and the surface is losing its protection even if there are no visible cracks.
- Flashing above and below windows and doors. Look at the metal or vinyl flashing at the top of each window. Is it seated tightly against the wall? Is the caulk line above it intact? Look below the window for a drip edge or weep channel. A missing or painted-over drip channel will channel water into the wall below the window.
- Organic growth on north walls. Any green, black, or rust-colored staining on a north wall should be cleaned and diagnosed before the fall rains. Organic growth holds moisture against the surface and accelerates paint failure.
- Dryer vent and exhaust hood checks. While inspecting north and west walls, note every exterior exhaust hood. The flapper should close completely when the dryer or fan is off. A flapper stuck open is a direct pathway for wind-blown debris and pests into the home.
If the paint is chalky but the film is still intact, the most cost-effective fix is often a thorough cleaning and the application of a fresh top coat before the film fails completely. Waiting until visible cracks appear means the stucco below has already begun absorbing moisture.
What a General Contractor Documents During a Maintenance Walk (vs. What a Homeowner Can Self-Assess)
When we perform a maintenance walk for a Santa Clarita homeowner, we create a written record that serves two purposes: it gives the family a baseline for future inspections, and it gives us a reference point if a problem appears later. The documentation matters as much as the inspection itself. A homeowner with a phone camera and a ladder can self-assess most of the items in this guide. For how to hire a construction contractor in Santa Clarita: a step-by-step guide, see our dedicated resource. What a general contractor documents during the same walk is deeper and more systematic.
Here is what a general contractor walk includes compared to a homeowner self-assessment:
- Photo record with scale references. Every crack, joint, and stain is photographed with a fixed reference, a coin, a tape measure, or a marked reference line. This creates a repeatable baseline. A homeowner can absolutely do this; most never think to include the reference object.
- Moisture readings in suspect walls. A pinless moisture meter can detect elevated moisture in wall cavities before it shows as a stain. This is professional equipment, not something most homeowners own, but it is the fastest way to distinguish a healed crack from an active intrusion.
- Movement mapping. We measure and record the exact width of every structural crack, then compare those measurements on the next visit. A crack that opens from 1/16 inch to 3/32 inch over 12 months is telling a different story than a crack that stays static.
- Building-envelope review. We look at the entire wall system, not just the visible face. The stucco, the weep screeds, the control joints, the flashing, the sealant. A homeowner often sees one cracked caulk joint; we see the pattern across the whole wall.
- Report with prioritized action items. Our documentation ends with a written list of items ranked by urgency and cost. The homeowner knows exactly what needs attention now, what can wait six months, and which items should be rechecked after the next big wind event.
For the homeowner who wants to self-assess, the phone camera and ladder method is genuinely useful. The key is to be systematic: same time of year, same route around the house, same photo angles. The comparison over time matters more than any single snapshot.
Common Mistakes to Avoid
- Checking caulk on a fixed annual schedule instead of by temperature exposure. A Santa Clarita western wall sees more thermal stress in one August than a shaded northern wall sees all year. Inspect by exposure, not by calendar.
- Ignoring weep screeds because the walls look fine. The weep screed is at the bottom of the wall, often hidden behind plants. It fails silently, and the damage travels inward where you cannot see it until the repair is expensive.
- Forgetting attic vents after a Santa Ana event. Homeowners check the roof for visible damage and then move on. The ember-sized hole in a gable vent screen is the thing that matters most for the next fire season.
- Using the wrong caulk. Interior caulk applied to an exterior joint will fail within months. Exterior sealant applied to a wet joint will not bond. Use the right product for the right surface and confirm the joint is clean and dry before applying.
- Covering weep screeds with stucco patch or paint during a cosmetic repair. This is one of the most common mistakes we find on previously repaired Santa Clarita homes. The weep screed must remain open to function. Sealing it guarantees water stays inside the wall.
- Delaying a maintenance item because the interior looks fine. The interior of a stucco home is the last place water damage appears. By the time you see the stain, the water has already traveled through the wall assembly. Exterior checks catch problems months earlier.
- Assessing a crack by eye without measuring it. A crack that has been 1/16 inch for five years is a different problem than a crack that has grown from 1/16 to 1/8 inch in one year. Without measurement, you cannot tell the difference.
See the difference
 Before
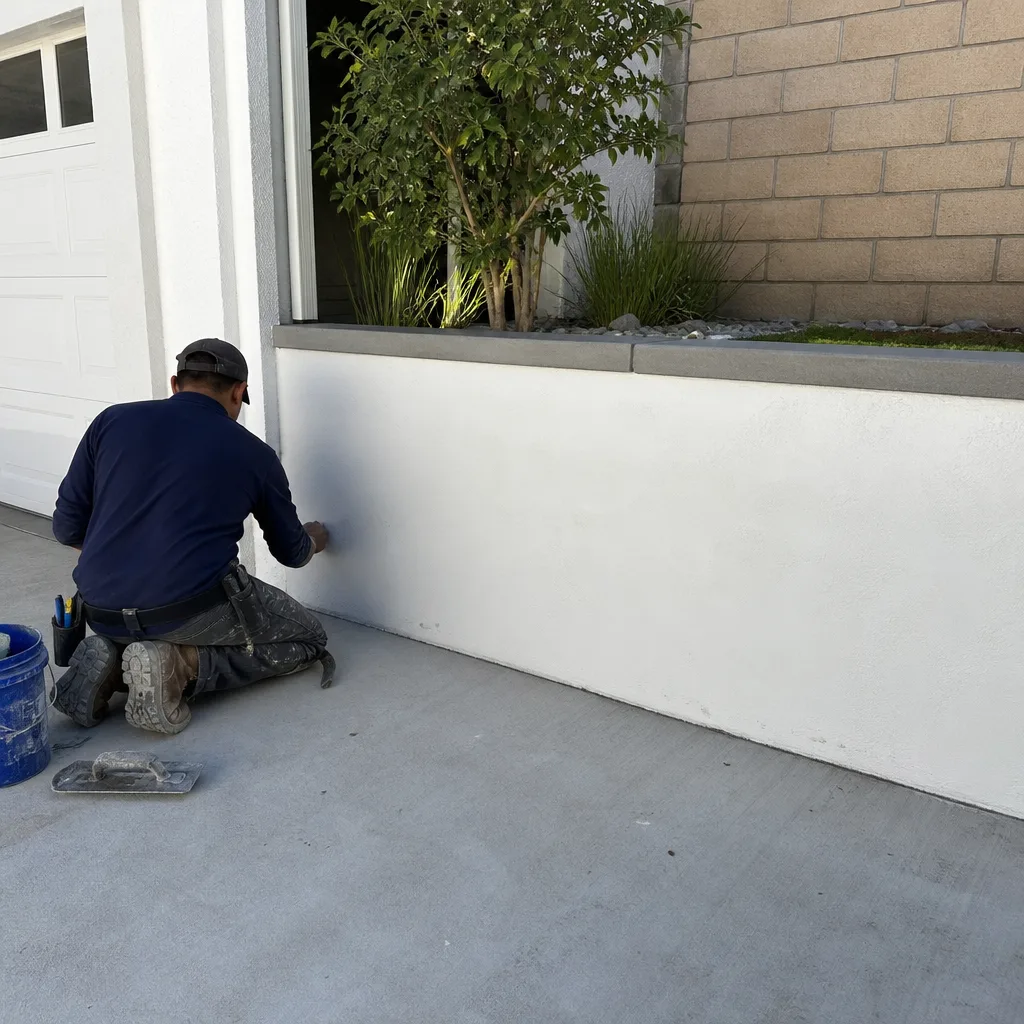 After
After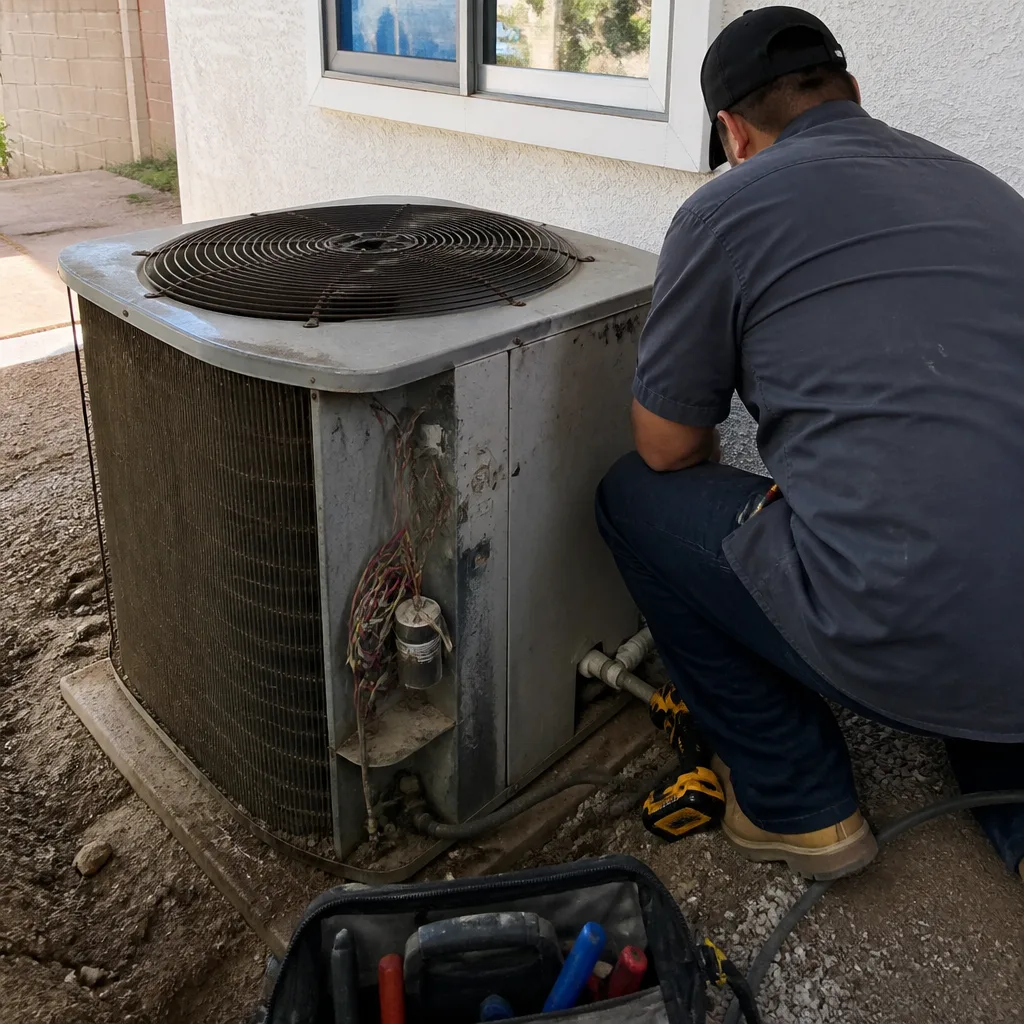 Before
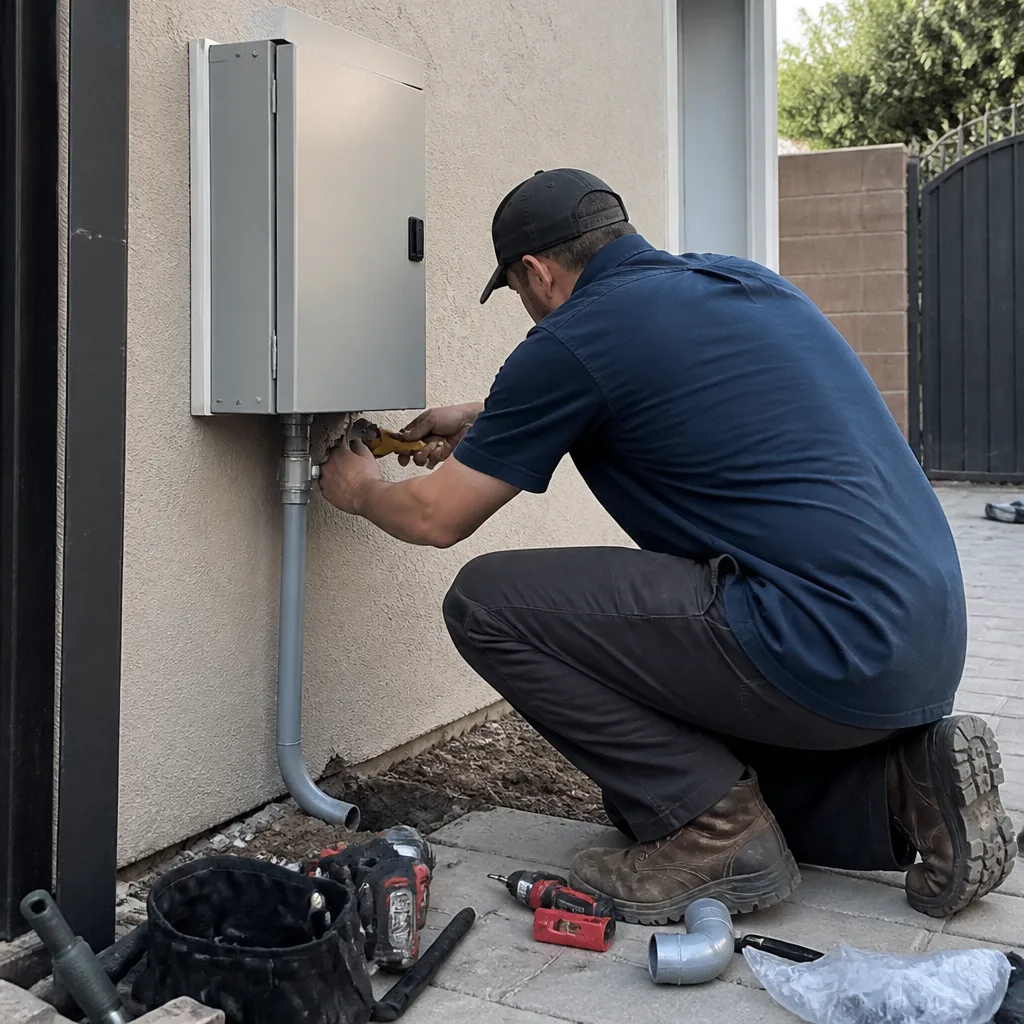 After
After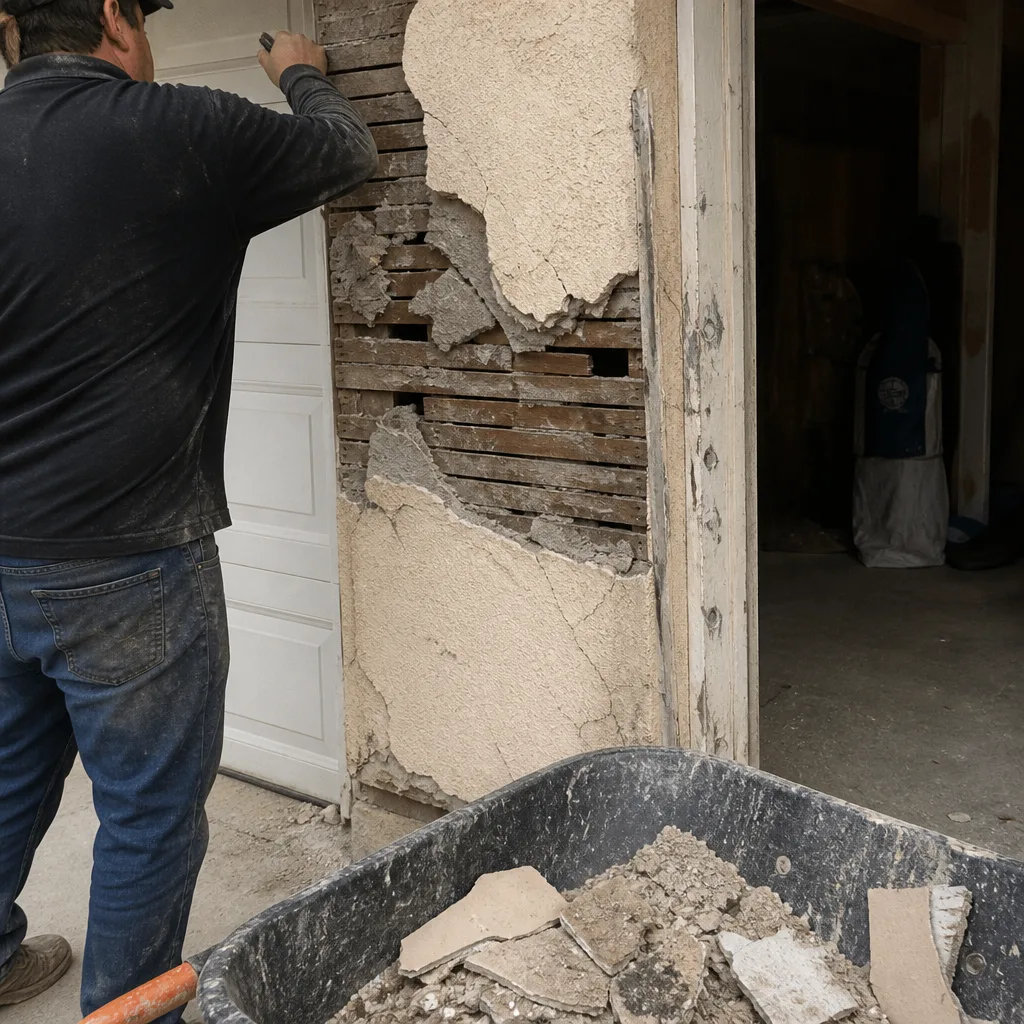 Before
 After
AfterWhen to Call a Professional
Call a general contractor in Santa Clarita when you find a crack that is growing, a weep screed that is buried or missing, water staining inside, a vent screen that has failed, or any joint where water appears to be standing against the house. These are not items to let sit through a Santa Ana season or a summer heat wave. A trained eye can assess the full wall system and give you a plan before the repair becomes extensive. Elmstead Remodeling Santa Clarita offers free estimates in Santa Clarita – call (661) 542-4056 to schedule a maintenance walk or to get a written price on any repair.
Frequently Asked Questions

A full maintenance inspection should be done twice per year in Santa Clarita: once in March before the summer heat begins and once in October after the peak heat has passed and before the heaviest Santa Ana wind season. The March walk catches winter damage; the October walk catches summer thermal damage and prepares the home for fire season. For seasonal construction care for Santa Clarita: year-round homeowner’s guide, see our detailed breakdown.
A weep screed is the metal flashing at the bottom of an exterior stucco wall that allows moisture to exit the wall assembly. If it is buried, damaged, or sealed, water collects behind the stucco and travels into the framing. It is the single most overlooked component on Santa Clarita homes.
Hairline crack sealing typically costs $150 to $400 per wall section, depending on access and the number of cracks. Replacing a damaged weep screed section typically costs $250 to $600. Structural crack evaluation and repair may run higher if the wall movement is active. Call (661) 542-4056 for an exact quote – estimates are free.
Yes. Even outside high fire zones, Santa Clarita’s Santa Ana winds force significant dust and debris through unprotected or damaged attic vent screens. That material accumulates on attic insulation and can reduce its effectiveness, and fine dust can filter into the living space over time.
No. Elmstead Remodeling Santa Clarita home gives a written price before any work begins, on every project. That price does not grow after the crew arrives. If we find something unexpected, we stop and explain the situation before any additional work is authorized.
Most exterior maintenance repairs like caulk replacement, weep screed replacement, and vent screening do not require permits in the city of Santa Clarita. If a repair turns out to be structural, we will tell you before the work begins and handle the permit process if one is required. Call (661) 542-4056 with any questions about a specific repair.
The Bottom Line
Most Santa Clarita home maintenance fails not because homeowners are inattentive but because the checklists they follow are written for a different climate. The thermal stress of summer heat above 100°F and the debris-laden force of Santa Ana winds change how caulk, stucco, attic vents, and HVAC systems age in this valley. By focusing on weep screeds, control joints, vent screens, and sealant intervals tied to actual local conditions, a homeowner can prevent the majority of expensive repairs this climate creates. For more guides & resources, explore our blog. And when the inspection turns up something that needs a trained eye, a written price and a clear action plan are always the right next step.
Call (661) 542-4056 to schedule your free maintenance walk or to get a written estimate from our team.
Written by Graham Stein, Owner at Elmstead Remodeling Santa Clarita, serving Santa Clarita since 2005.